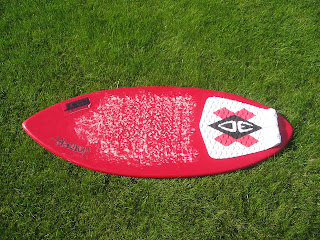
A beautiful autumn morning on Sunday - no better time to work on the skimboard.
Robin lending a hand - mainly sanding the top radius on the rails.
The surform was also very useful in roughing out.
Plane less so on the poplar ply.
Monday, October 15, 2007
Tuesday, October 9, 2007
Handy, that!
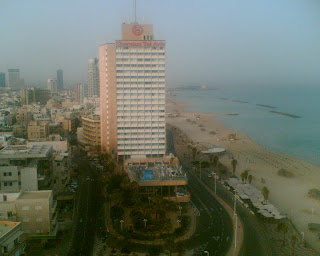
 Thought I'd do a quick set of uploads of some photos from my mobile phone from recent business trips. The images have a kind of hazy, lo-fi quality to them. Nothing wrong with that! This one is in Tel Aviv from the Rennaissance, looking back at the Sheraton. Took this when I was there in June this year.
The next one is from my room in Nice, France last week. 21 degrees and not too bad.
 A couple of days later, another meeting, another hotel room, this time a few km away in Juan Les Pins. All very South of France at end of season. Mind you, don't usually get to go to such glamourous places. But who takes photos of giant car parks in Gothenburg, Sweden?
Monday, October 8, 2007
Template board - thanks Victoria!
Skimboard Test # 2
 The top & bottom skins & rails were done during an afternoon. Not bad! Then laid it up on the rocker table and glued & clamped it.
The rocker table was a simple effort from reclaimed 2x4 and some IKEA fasteners.
You see that the poplar ply stringers are also flat and being bent on the table. A previous testpiece helped me learn that the glued laminate construction (and shear) helps keep the rocker intact.
Advice that you can never have enough clamps.
 Gluing on the top skin several days later. By the way I am using the Bison (Konstructielijm - D4) - standard single component marine quality PU glue as far as I can tell.
  I did put a bit of extra padding to avoid any marking of the top skin
 Sanding up. Just need to work on this a bit and she'll be ready for glassing.
Still stuffing around looking for a good venting solution (for such a thin board)
Skimboard test exercise
 Basically a series of photos of my first attempt at building some kind of wood based surf object. I chose a skimboard to start with for several reasons (in no particular order):
1. Ease of construction.
2. My #2 son Robin is really into skimboarding, as are my other two (Chris & Steven) so we are starting to amass a quiver of skimbos.
3. Um, did I mention ease of construction?
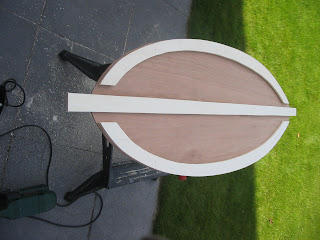
Here are the top & bottom skims (3mm hardwood ply) cut to shape templated from a Victoria foamie skimboard.
 Adding the centre and rail stringers - cutting to shape. For this design I thought transverse stringers might not be needed - we'll see.
Yep - two trusty tools - a surform and
 a belt sander
 Hmmm. My first mistake already - (both!) rail stringers were cropper by 20 mm to allow for the 200 mm centre stringer...Doh! But the joys of wood are such that I can fill that one up with some extra wood & glue!!!
Monday, October 1, 2007
First venture into the blogosphere
About to pop my first post off into the blogosphere - this is more of a test firing to check how it all going to look.
I think the thing here is for me to find a way to get some thoughts and pctures out there to read for the friends and family in the big wide world.
I think the thing here is for me to find a way to get some thoughts and pctures out there to read for the friends and family in the big wide world.
Subscribe to:
Posts (Atom)


